There are few steps away before you can start to use BlendVision Encoder API to create a new encoding job.
- Step 1. Sign up a BlendVision Encoder account
- Step 2. Get your API key by creating a new Project from BlendVision Encoder web console.
- Step 3. Configure your encoding output (ProfileSet)
- Step 4. Specify an Input
Below we will explain more details about each step.
Step 1. Sign up BlendVision Encoding
Go to BlendVision Console and follow steps in Account Registration / Login.
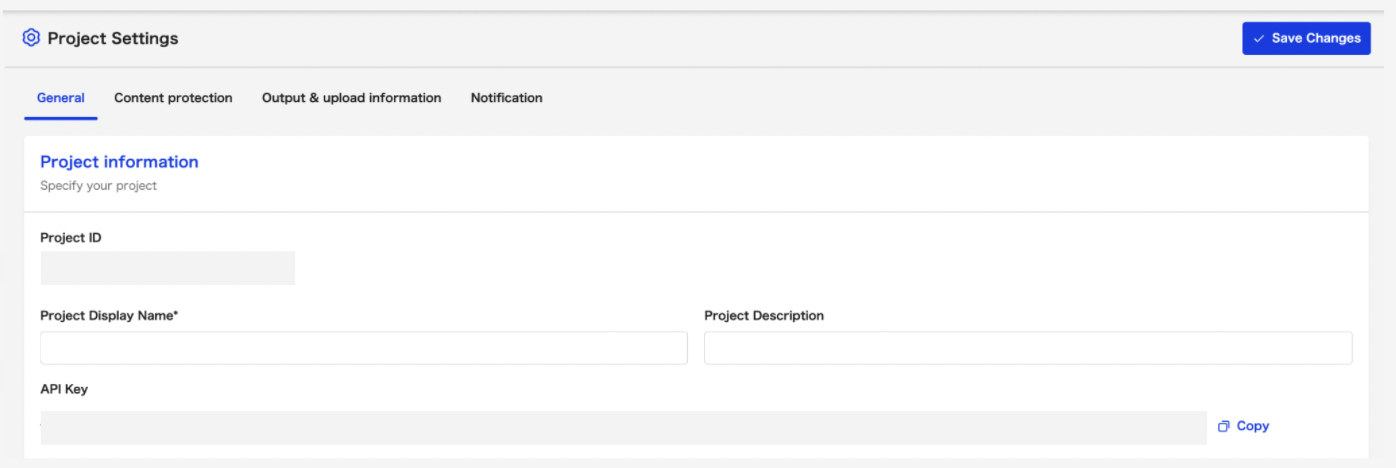
Step 2. Create a new Project to get a API key
An API Key is necessary for accessing BlendVision Encoder API.
To get the API Key, please follow the Create a new Project manual to create a new project. After the creation, you can get the API Key from the Project setting page.
For detailed instructions, please refer to Upload Your Video Contents to Create a New Encoding Job - Other Approach.
Step 3. Configure your encoding output (ProfileSet)
A ProfileSet specifies your encoding output configuration, such as codec, streaming protocols, and adaptive streaming profiles. Each encoding job must be assigned with a ProfileSet before encoding.
You can directly use BlendVision recommended ProfileSet presets or customize your own ProfileSet. For ProfileSet customization, please refer to Profile and ProfileSet.
Step 4. Specify an Input
Input is the data model to tell BlendVision API where to pull the source files. Within an Input, it contains the cloud storage location and corresponding access key.
Follow the instructions in Input Management, you can add a new Input.